Strategy vault / Mean reversion
Trading Strategy Based on Supply and Demand Zones with EMA and Trailing Stop
The strategy utilizes supply and demand zones, Exponential Moving Average (EMA), and Average True Range (ATR) trailing stop for trade signals. Users can adjust EMA settings and signal visibility. The strategy marks…
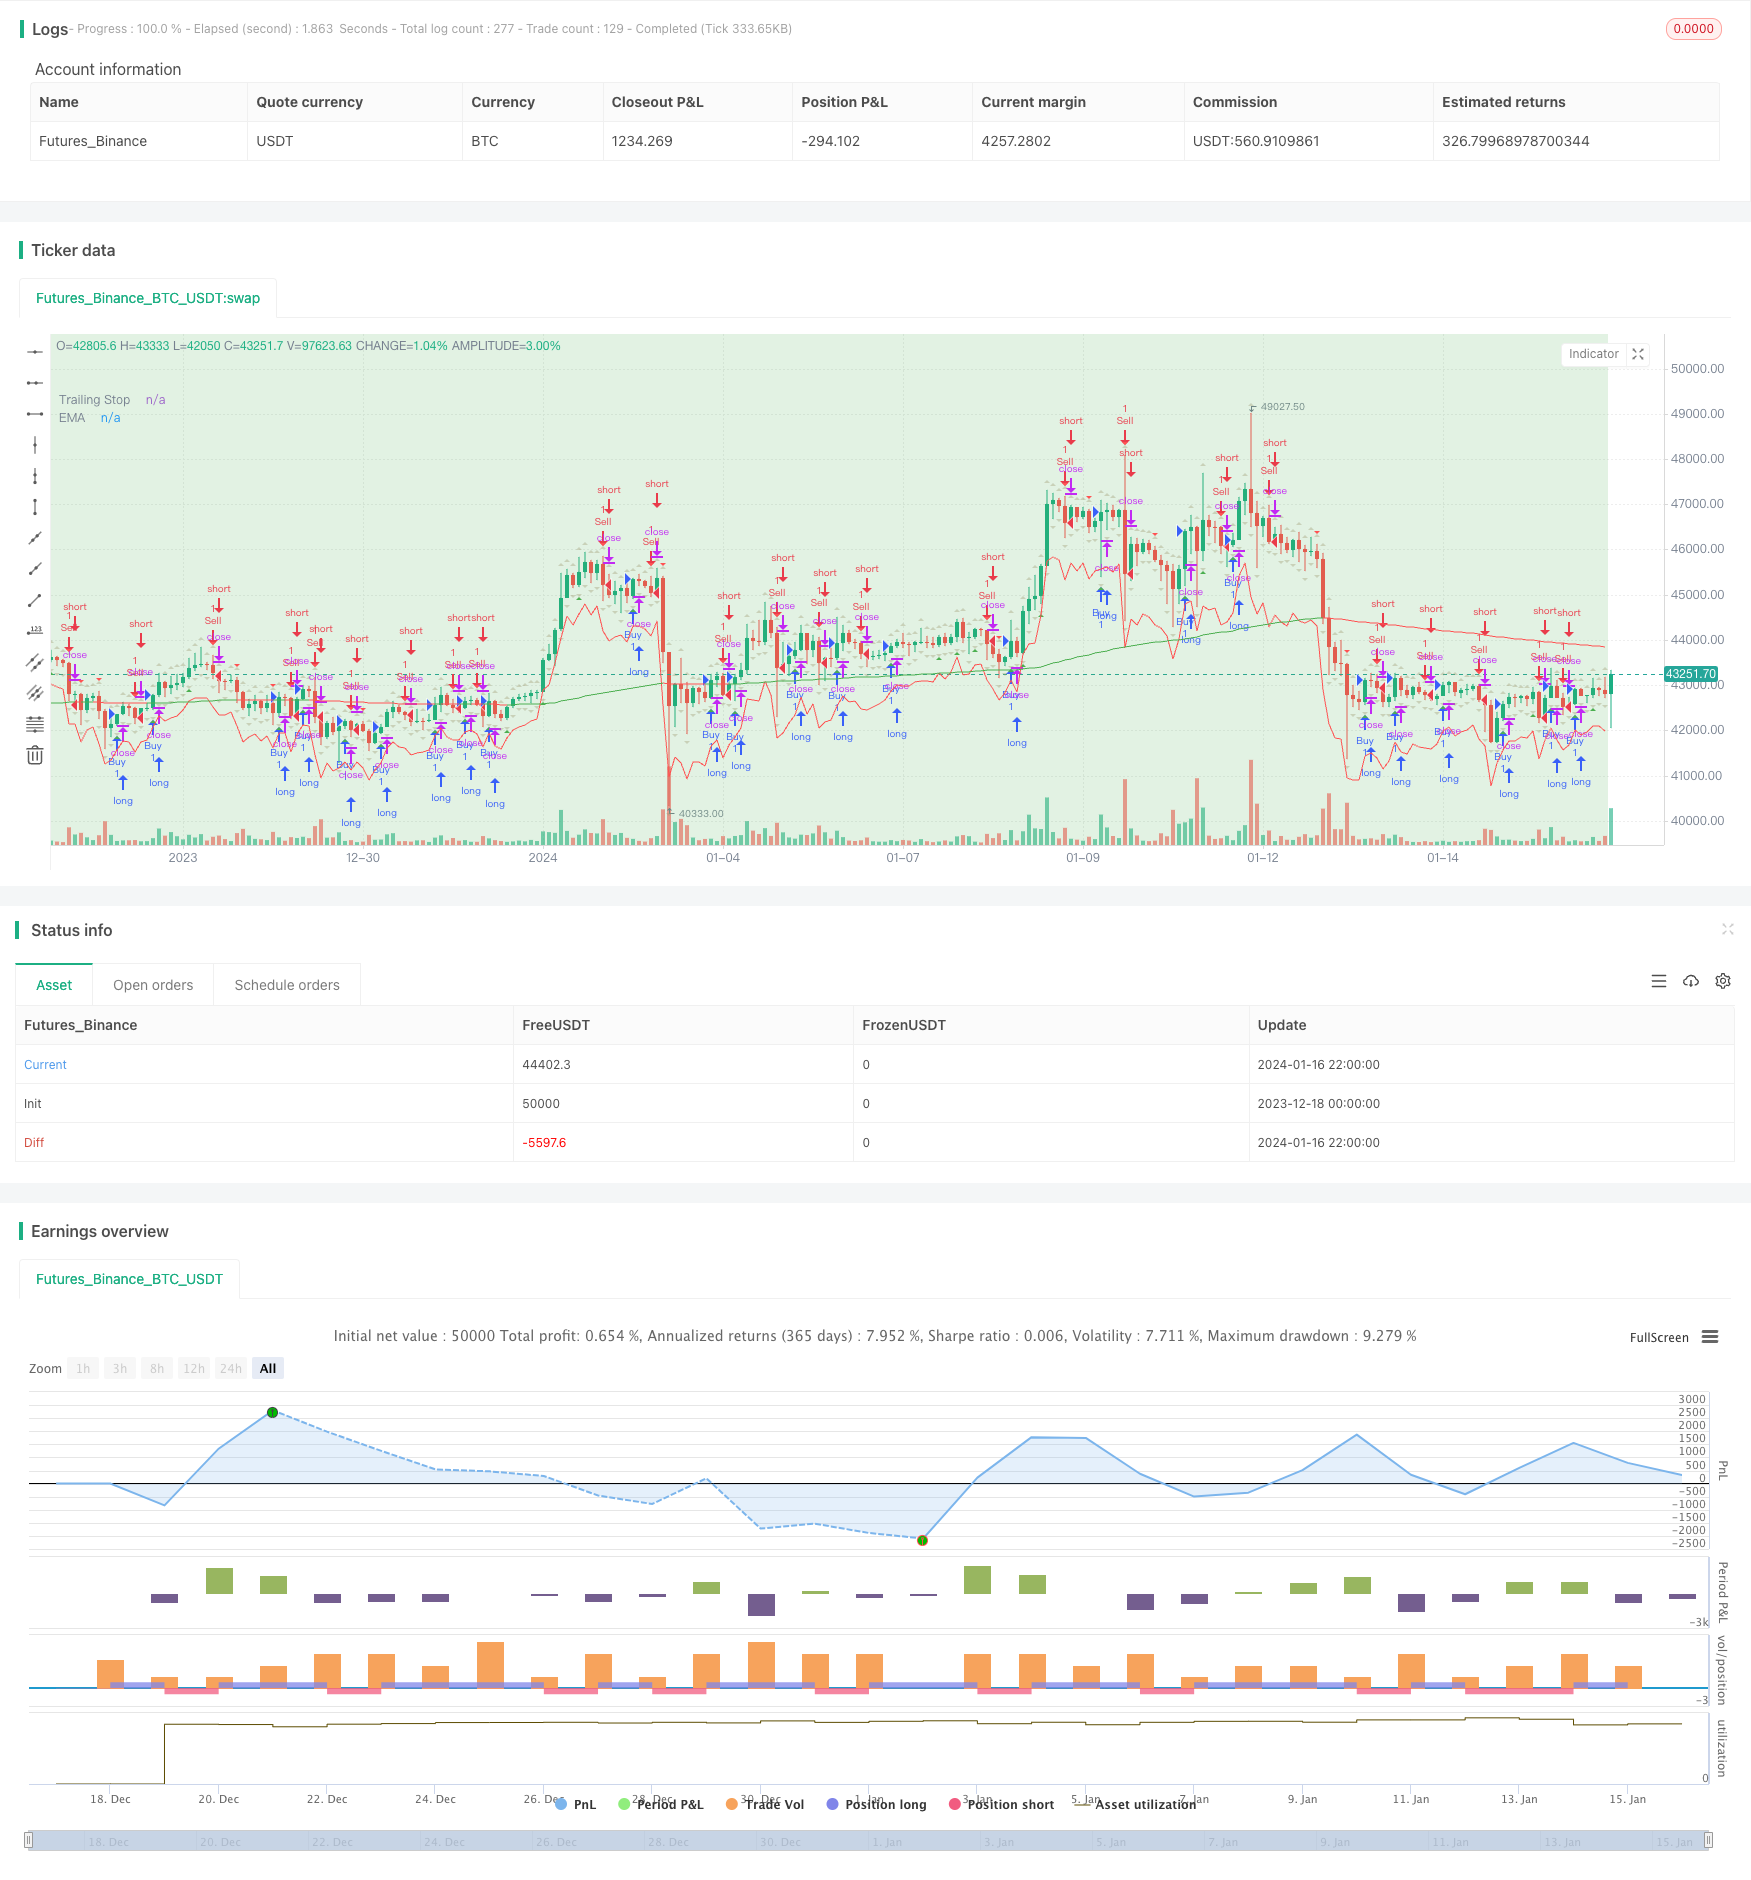
Overview
The strategy utilizes supply and demand zones, Exponential Moving Average (EMA), and Average True Range (ATR) trailing stop for trade signals. Users can adjust EMA settings and signal visibility. The strategy marks Higher High (HH), Lower Low (LL), Lower High (LH), and Higher Low (HL) zones. Signals are shown after the third candle, suitable for backtesting.
Strategy Logic
Indicator Calculations
Exponential Moving Average (EMA):
- EMA is calculated from closing prices over a period (default: 200).
- Formula: EMA = (Price_t x α) + (EMA_t-1 x (1 - α)), where α = 2/(length + 1)
Average True Range (ATR):
- ATR measures market volatility from true range of prices.
- True range is the greatest of:
- Current high minus current low
- Absolute value of current high minus previous close
- Absolute value of current low minus previous close
- ATR typically uses 14 periods.
Used to determine EMA for trend and ATR for volatility-based trailing stop.
Supply and Demand Zone Identification
It identifies "HH" (Higher High), "LL" (Lower Low), "HL" (Higher Low) and "LH" (Lower High) patterns:
Higher High (HH): Current peak > previous peak, upward momentum.
Lower Low (LL): Current trough < previous trough, downward momentum.
Higher Low (HL): Current trough > previous trough, upward continuation.
Lower High (LH): Current peak < previous peak, downward continuation.
Used with trends to identify reversals or continuations.
Entry and Exit
Entry Signal: Buy/sell on third candle closing above/below previous high/low.
Exit: Trailing stop loss based on ATR.
Advantages
- Combines trends, reversals, volatility for robust signals.
- Demand/supply zones identify key S/R.
- Dynamic ATR stop adjusts to volatility.
- Customizable parameters.
- Simple entry rules.
Risks and Improvements
- False signals: Optimize EMA length.
- High ATR multiplier risks chasing trends.
- Consider additional filters on entries.
- Test trend-focused approach.
Conclusion
Combines multiple techniques for decent backtests. Real-world is complex, optimization is key. Basic strategy allows extensions and combinations.
Parameters
| Name | Default | What it controls |
|---|---|---|
| v_input_1 | true | (?Signals)Show Buy Signals |
| v_input_2 | true | Show Sell Signals |
| v_input_3 | true | (?Zones)Show HL Zone |
| v_input_4 | true | Show LH Zone |
| v_input_5 | true | Show HH Zone |
| v_input_6 | true | Show LL Zone |
| v_input_7 | 200 | (?EMA Settings)EMA Length |
| v_input_8 | 14 | (?Trailing Stop)ATR Length |
| v_input_9 | 2 | ATR Multiplier |
Source Pine Script
/*backtest
start: 2023-12-18 00:00:00
end: 2024-01-17 00:00:00
period: 2h
basePeriod: 15m
exchanges: [{"eid":"Futures_Binance","currency":"BTC_USDT"}]
*/

//@version=5
strategy("Supply and Demand Zones with EMA and Trailing Stop", shorttitle="SD Zones", overlay=true)

showBuySignals = input(true, title="Show Buy Signals", group="Signals")
showSellSignals = input(true, title="Show Sell Signals", group="Signals")
showHLZone = input(true, title="Show HL Zone", group="Zones")
showLHZone = input(true, title="Show LH Zone", group="Zones")
showHHZone = input(true, title="Show HH Zone", group="Zones")
showLLZone = input(true, title="Show LL Zone", group="Zones")

emaLength = input(200, title="EMA Length", group="EMA Settings")
atrLength = input(14, title="ATR Length", group="Trailing Stop")
atrMultiplier = input(2, title="ATR Multiplier", group="Trailing Stop")

// Function to identify supply and demand zones
getZones(src, len, mult) =>
    base = request.security(syminfo.tickerid, "D", close)
    upper = request.security(syminfo.tickerid, "D", high)
    lower = request.security(syminfo.tickerid, "D", low)
    multiplier = request.security(syminfo.tickerid, "D", mult)
    zonetype = base + multiplier * len
    zone = src >= zonetype
    [zone, upper, lower]

// Identify supply and demand zones
[supplyZone, _, _] = getZones(close, high[1] - low[1], 1)
[demandZone, _, _] = getZones(close, high[1] - low[1], -1)

// Plot supply and demand zones
bgcolor(supplyZone ? color.new(color.red, 80) : na)
bgcolor(demandZone ? color.new(color.green, 80) : na)

// EMA with Linear Weighted method
ema = ta.ema(close, emaLength)

// Color code EMA based on its relation to candles
emaColor = close > ema ? color.new(color.green, 0) : close < ema ? color.new(color.red, 0) : color.new(color.yellow, 0)

// Plot EMA
plot(ema, color=emaColor, title="EMA")

// Entry Signal Conditions after the third candle
longCondition = ta.crossover(close, high[1]) and bar_index >= 2
shortCondition = ta.crossunder(close, low[1]) and bar_index >= 2

// Trailing Stop using ATR
atrValue = ta.atr(atrLength)
trailStop = close - atrMultiplier * atrValue

// Strategy Entry and Exit
if (longCondition)
    strategy.entry("Buy", strategy.long)
    strategy.exit("TrailStop", from_entry="Buy", loss=trailStop)

if (shortCondition)
    strategy.entry("Sell", strategy.short)
    strategy.exit("TrailStop", from_entry="Sell", loss=trailStop)

// Plot Entry Signals
plotshape(series=showBuySignals ? longCondition : na, title="Buy Signal", color=color.new(color.green, 0), style=shape.triangleup, location=location.belowbar)
plotshape(series=showSellSignals ? shortCondition : na, title="Sell Signal", color=color.new(color.red, 0), style=shape.triangledown, location=location.abovebar)

// Plot Trailing Stop
plot(trailStop, color=color.new(color.red, 0), title="Trailing Stop")

// Plot HH, LL, LH, and HL zones
plotshape(series=showHHZone and ta.highest(high, 2)[1] and ta.highest(high, 2)[2] ? 1 : na, title="HH Zone", color=color.new(color.blue, 80), style=shape.triangleup, location=location.abovebar)
plotshape(series=showLLZone and ta.lowest(low, 2)[1] and ta.lowest(low, 2)[2] ? 1 : na, title="LL Zone", color=color.new(color.blue, 80), style=shape.triangledown, location=location.belowbar)
plotshape(series=showLHZone and ta.highest(high, 2)[1] and ta.lowest(low, 2)[2] ? 1 : na, title="LH Zone", color=color.new(color.orange, 80), style=shape.triangleup, location=location.abovebar)
plotshape(series=showHLZone and ta.lowest(low, 2)[1] and ta.highest(high, 2)[2] ? 1 : na, title="HL Zone", color=color.new(color.orange, 80), style=shape.triangledown, location=location.belowbar)
Published by ChaoZhang on the FMZ strategy square · last modified 2024-01-18. Collected in the Quant Trading Vault. Unvalidated research: re-test with your own data and costs before trusting it.
Build this with AgenKit
A spec is not a trading system. Paste this into your coding agent and AgenKit runs a specialist team — architecture, test-first build, risk gates, review — with paper trading on by default.
/agenkit build a production-grade trading bot with a backtest engine, risk controls and paper trading by default from strategies/Trading-Strategy-Based-on-Supply-and-Demand-Zones-with-EMA-and-Trailing-Stop.md- npx agenkit install engineering-kit in your project
- Paste the command into your agent and approve each phase
- Get tests, backtest, risk controls and a paper-trading switch
Understand it first
Before you run this, read the lesson behind the idea and how to backtest it honestly. Specs like this one are the survivors of an unknown number of trials; deflate their results accordingly.
Related specs
- ATR and EMA based Dynamic Take Profit and Stop Loss Adaptive StrategyPine Script · Mean reversion · 1h
- Advanced Momentum EMA Trend Following with RSI Overbought Oversold Trading StrategyPine Script · Mean reversion · 1d
- Advanced Quantitative Trend Following and Cloud Reversal Composite Trading StrategyPine Script · Mean reversion · 1d
- Bidirectional Moving Average Reversion Trading StrategyPine Script · Mean reversion · 1h
- Comprehensive Strategy of Multiple Candlestick PatternsPine Script · Mean reversion · 1h
- Customizable Non Repainting HTF MACD MFI Scalable Bot StrategyPine Script · Mean reversion · 1d